Example Knob and Tube Projects in Shoreline

Every example starts with an older house and what the electrician finds behind its walls, then covers the work, the time it takes and an approximate cost. About 1 in 9 Shoreline homes was built before 1950 and nearly a quarter more in the 1950s, so the examples cover both knob-and-tube and the ungrounded cloth cable that followed it.

No example here is a past job, client or address. Each draws on local house ages, the normal order of work and current price ranges, so you can size up a job before asking for a quote.

Rewiring a two-story 1920s house with plaster walls

Example project

Gray two-story Craftsman house with a covered front porch on stone piers, a planted garden and water beyond
Home
1920s two-story Craftsman house in Shoreline, about 1,900 sq ft, lath and plaster throughout
Original request
Replace the knob-and-tube that still feeds most rooms, and keep the original plaster
Found
Live knob-and-tube upstairs and in most main-floor rooms; a 1950s kitchen on braided cable with no ground
Work
Every old circuit replaced with grounded cable through the attic, the basement and about 30 planned openings
Timeline
About three weeks of wiring, the inspection, then patching by a plasterer
Estimated cost
$36,500

Scope of work

Each circuit traced, new grounded cable run from the panel through the attic and basement and fished through about 30 planned openings in the plaster, new boxes, outlets, switches and light connections, new circuits for the kitchen counter and bathroom, the old circuits disconnected and the runs that can be reached in the attic and basement pulled out. Permit and inspection are included. Plaster patching and any panel change are priced separately.

Project overview

In this example, a 1920s two-story house in Shoreline still has live knob-and-tube upstairs and in most main-floor rooms, while the kitchen was redone in the 1950s with braided cable that has no ground. The owners want it all replaced, but they want to keep the original plaster.

A two-story plaster house takes more planning than a single-story one, because not every upstairs wall can be reached from the attic and not every downstairs wall from the basement. The scope marks about 30 small openings before anything is cut, mostly at the tops of walls and behind baseboards. They stay open until the L&I inspector has seen the new cable, and then a plasterer closes them.

The goal

The goal is a house on grounded circuits throughout, with the original plaster kept and every opening patched after the inspection.

Process

  1. Before work A survey of every circuit, the openings marked on a floor plan, and the permit bought.
  2. Week one Upper floor rewired from the attic, with openings cut only where marked.
  3. Week two Main floor rewired from the basement, and the kitchen and bathroom put on new circuits.
  4. Week three Devices fitted, old circuits disconnected and the runs that can be reached pulled out.
  5. Then Inspection with the openings still open, then a plasterer patches them.

Planning right

  • Agree in the quote who patches each opening. Here a plasterer does it after the inspection.
  • Baseboards and door casings can often be lifted off and refitted, which hides an opening completely.
  • The 1950s kitchen cable has no ground either, so it is part of the rewire rather than left for later.
  • Keep the circuit list and permit number. A future buyer’s inspector will ask about the old wiring.
Get a free quoteMore about plaster wall rewiring

A grounded circuit for a home office in a 1950s house

Example project

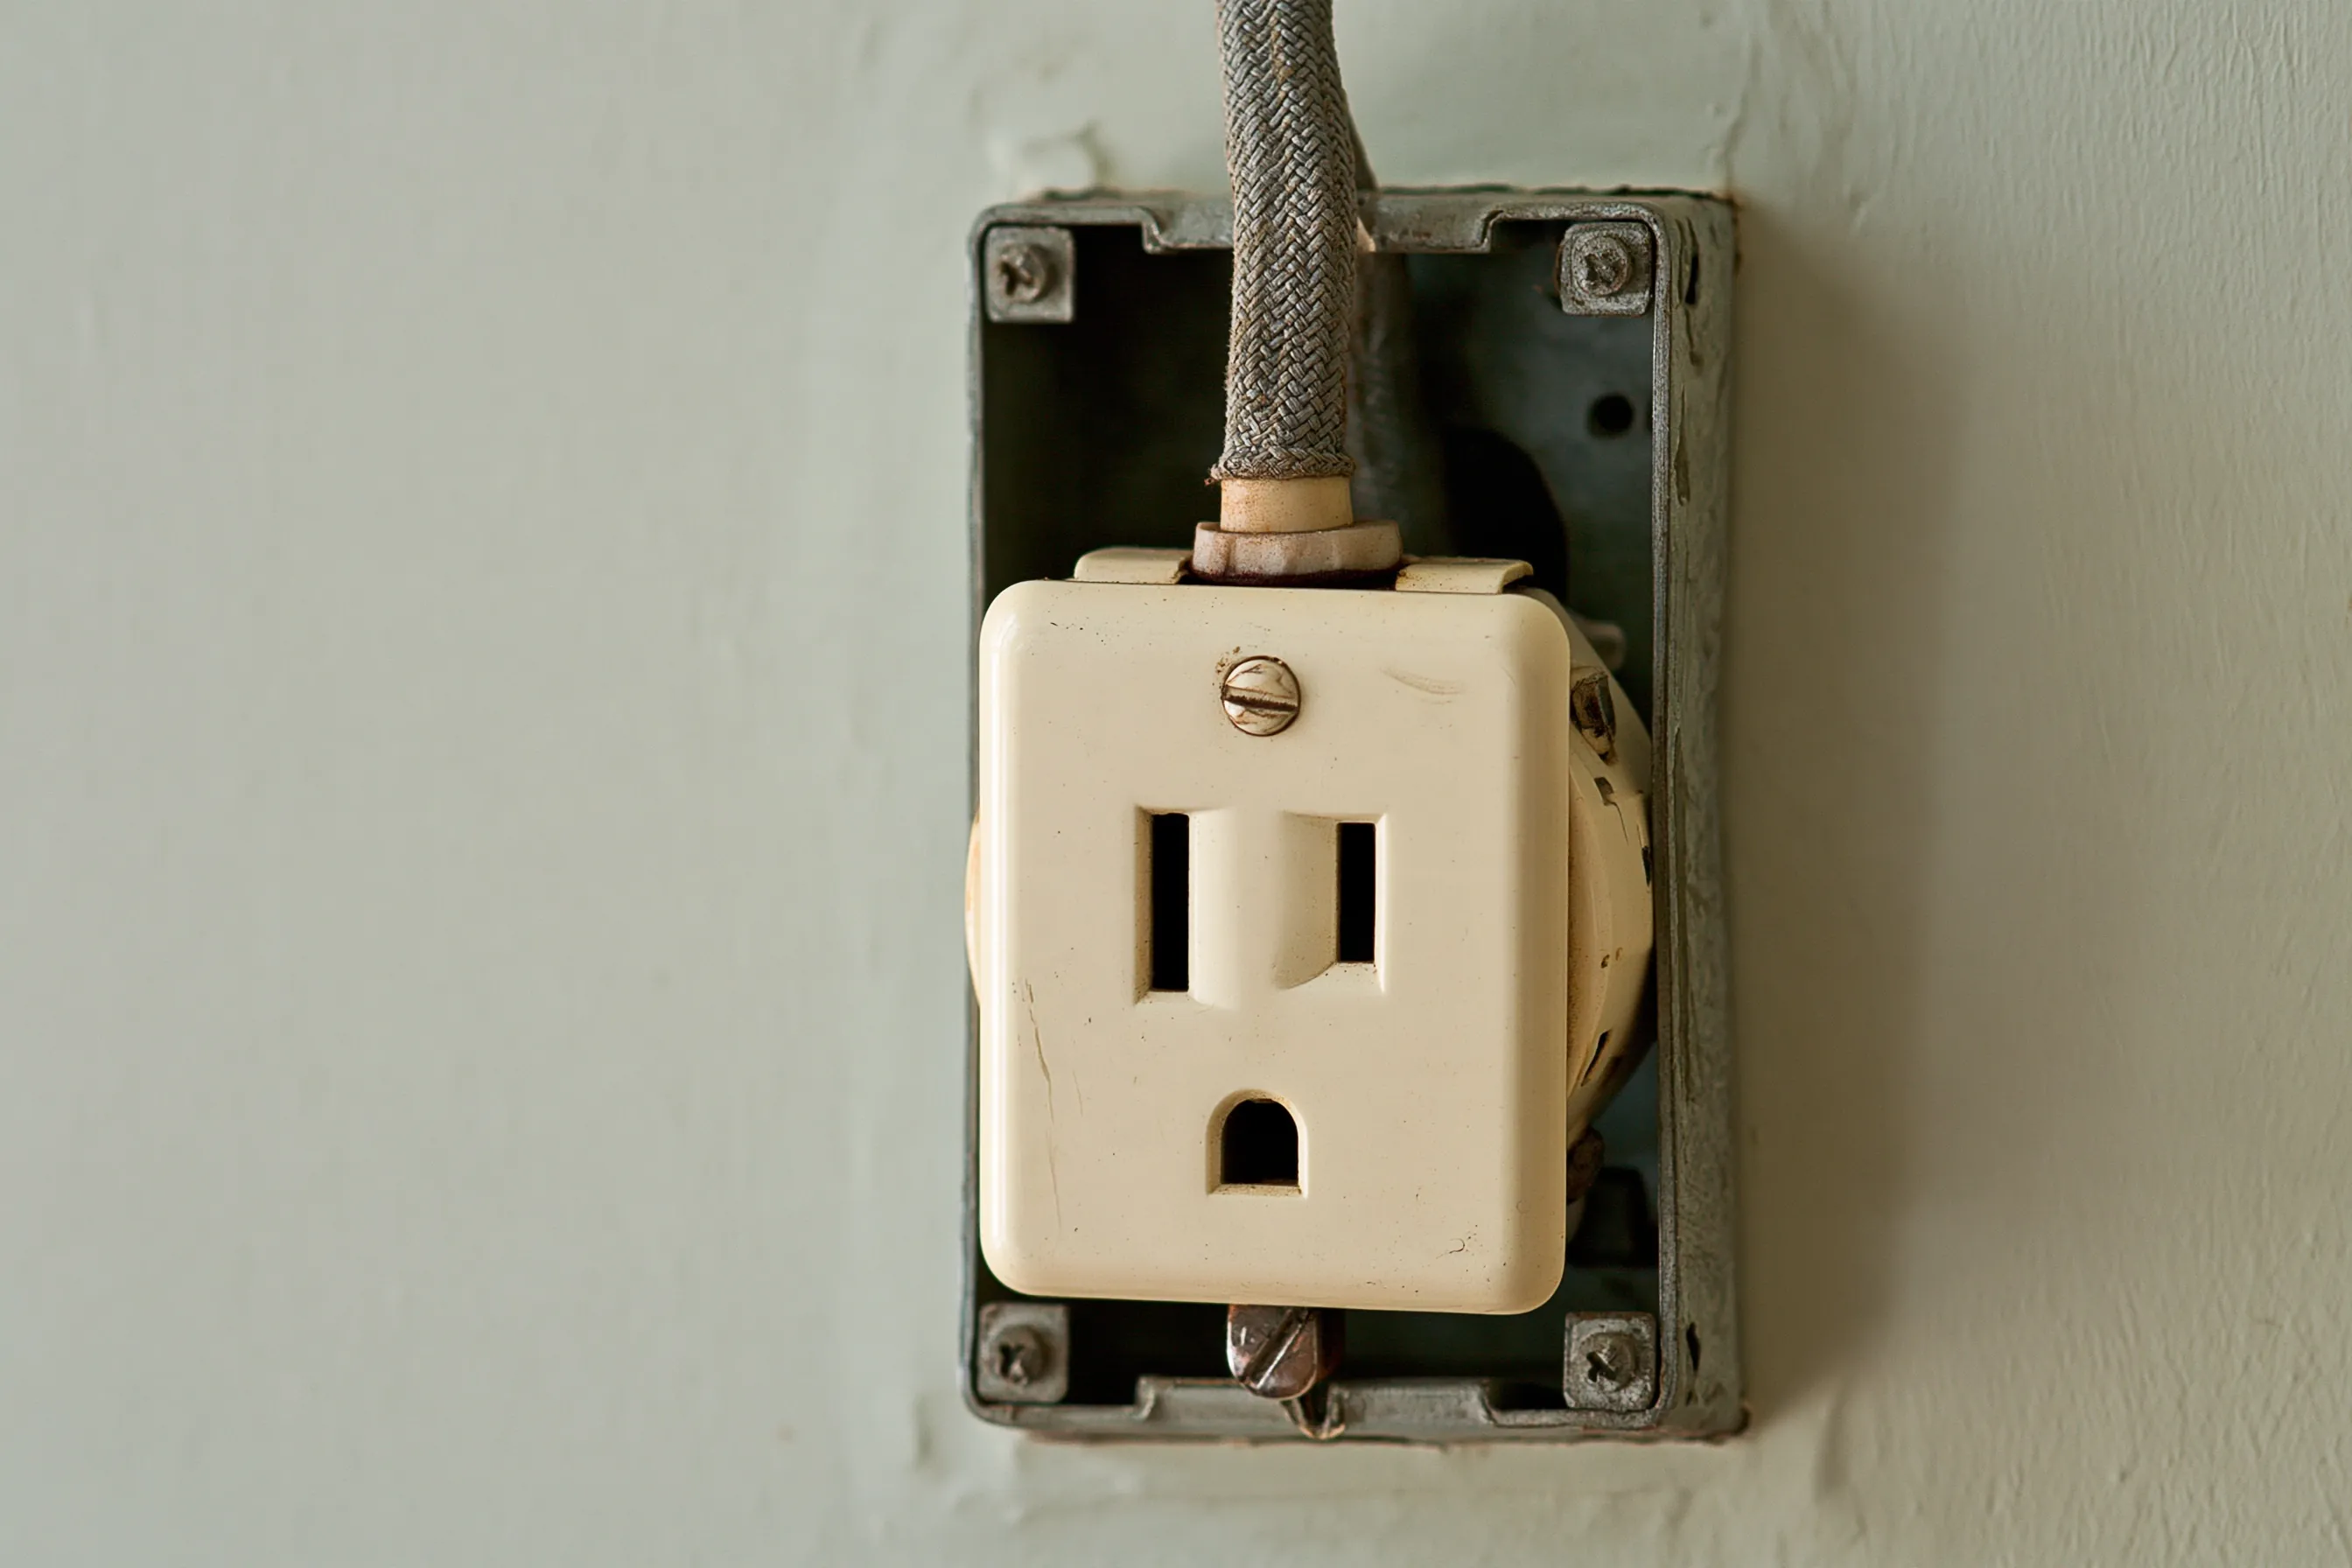
Three-prong outlet pulled forward from a metal box in a plaster wall, with aged cloth-covered cable entering the box
Home
1950s single-story house in Lake Forest Park, over a crawlspace
Original request
Safe outlets for a home office, where the three-prong outlets turned out to have no ground
Found
Cloth-covered cable with no ground wire behind outlets that look grounded
Work
One new grounded circuit from the panel to four outlets in the office
Timeline
One working day, then the inspection
Estimated cost
$1,450

Scope of work

A new circuit from the panel, run under the floor from the crawlspace and up into the office walls, four new grounded outlets in new boxes, the old outlets on those walls disconnected, and the permit and inspection. The rest of the old circuit stays as it is for now. Filling the small gaps around the new boxes is not included.

Project overview

In this example, the owners of a 1950s house in Lake Forest Park are setting up a home office. The room has three-prong outlets, but when one is pulled from its box there is cloth-covered cable behind it and no ground wire. The outlets look grounded and are not, so the computer and surge strip get no protection from them.

A single new grounded circuit fixes the office without rewiring the house. The cable comes up from the crawlspace into the office walls, so only the outlet boxes are opened. The rest of the old circuit stays for now, and the owners can protect it with labeled GFCI outlets or replace it later.

The goal

The goal is an office with outlets that are truly grounded, and a clear picture of the old cable elsewhere in the house.

Process

  1. Before work Outlets in the room tested and the route under the floor checked from the crawlspace.
  2. Work day New cable run from the panel through the crawlspace, and four grounded outlets fitted.
  3. Inspection The inspector sees the new cable and boxes before the small gaps are filled.
  4. Later The other rooms on the old circuit get GFCI protection or new wiring when the owners are ready.

Planning right

  • A three-prong outlet on an ungrounded circuit is misleading. Anything plugged in assumes a ground that is not there.
  • A GFCI outlet protects people from shock but does not give a surge strip a ground.
  • Two-prong outlets elsewhere in the house point to the same cable. A short survey shows how far it reaches.
  • Heavy loads like a space heater belong on a new circuit, not on the old cable.

Get a free quoteMore about cloth wiring replacement

Old wiring flagged on a 1950s house during a sale

Example project

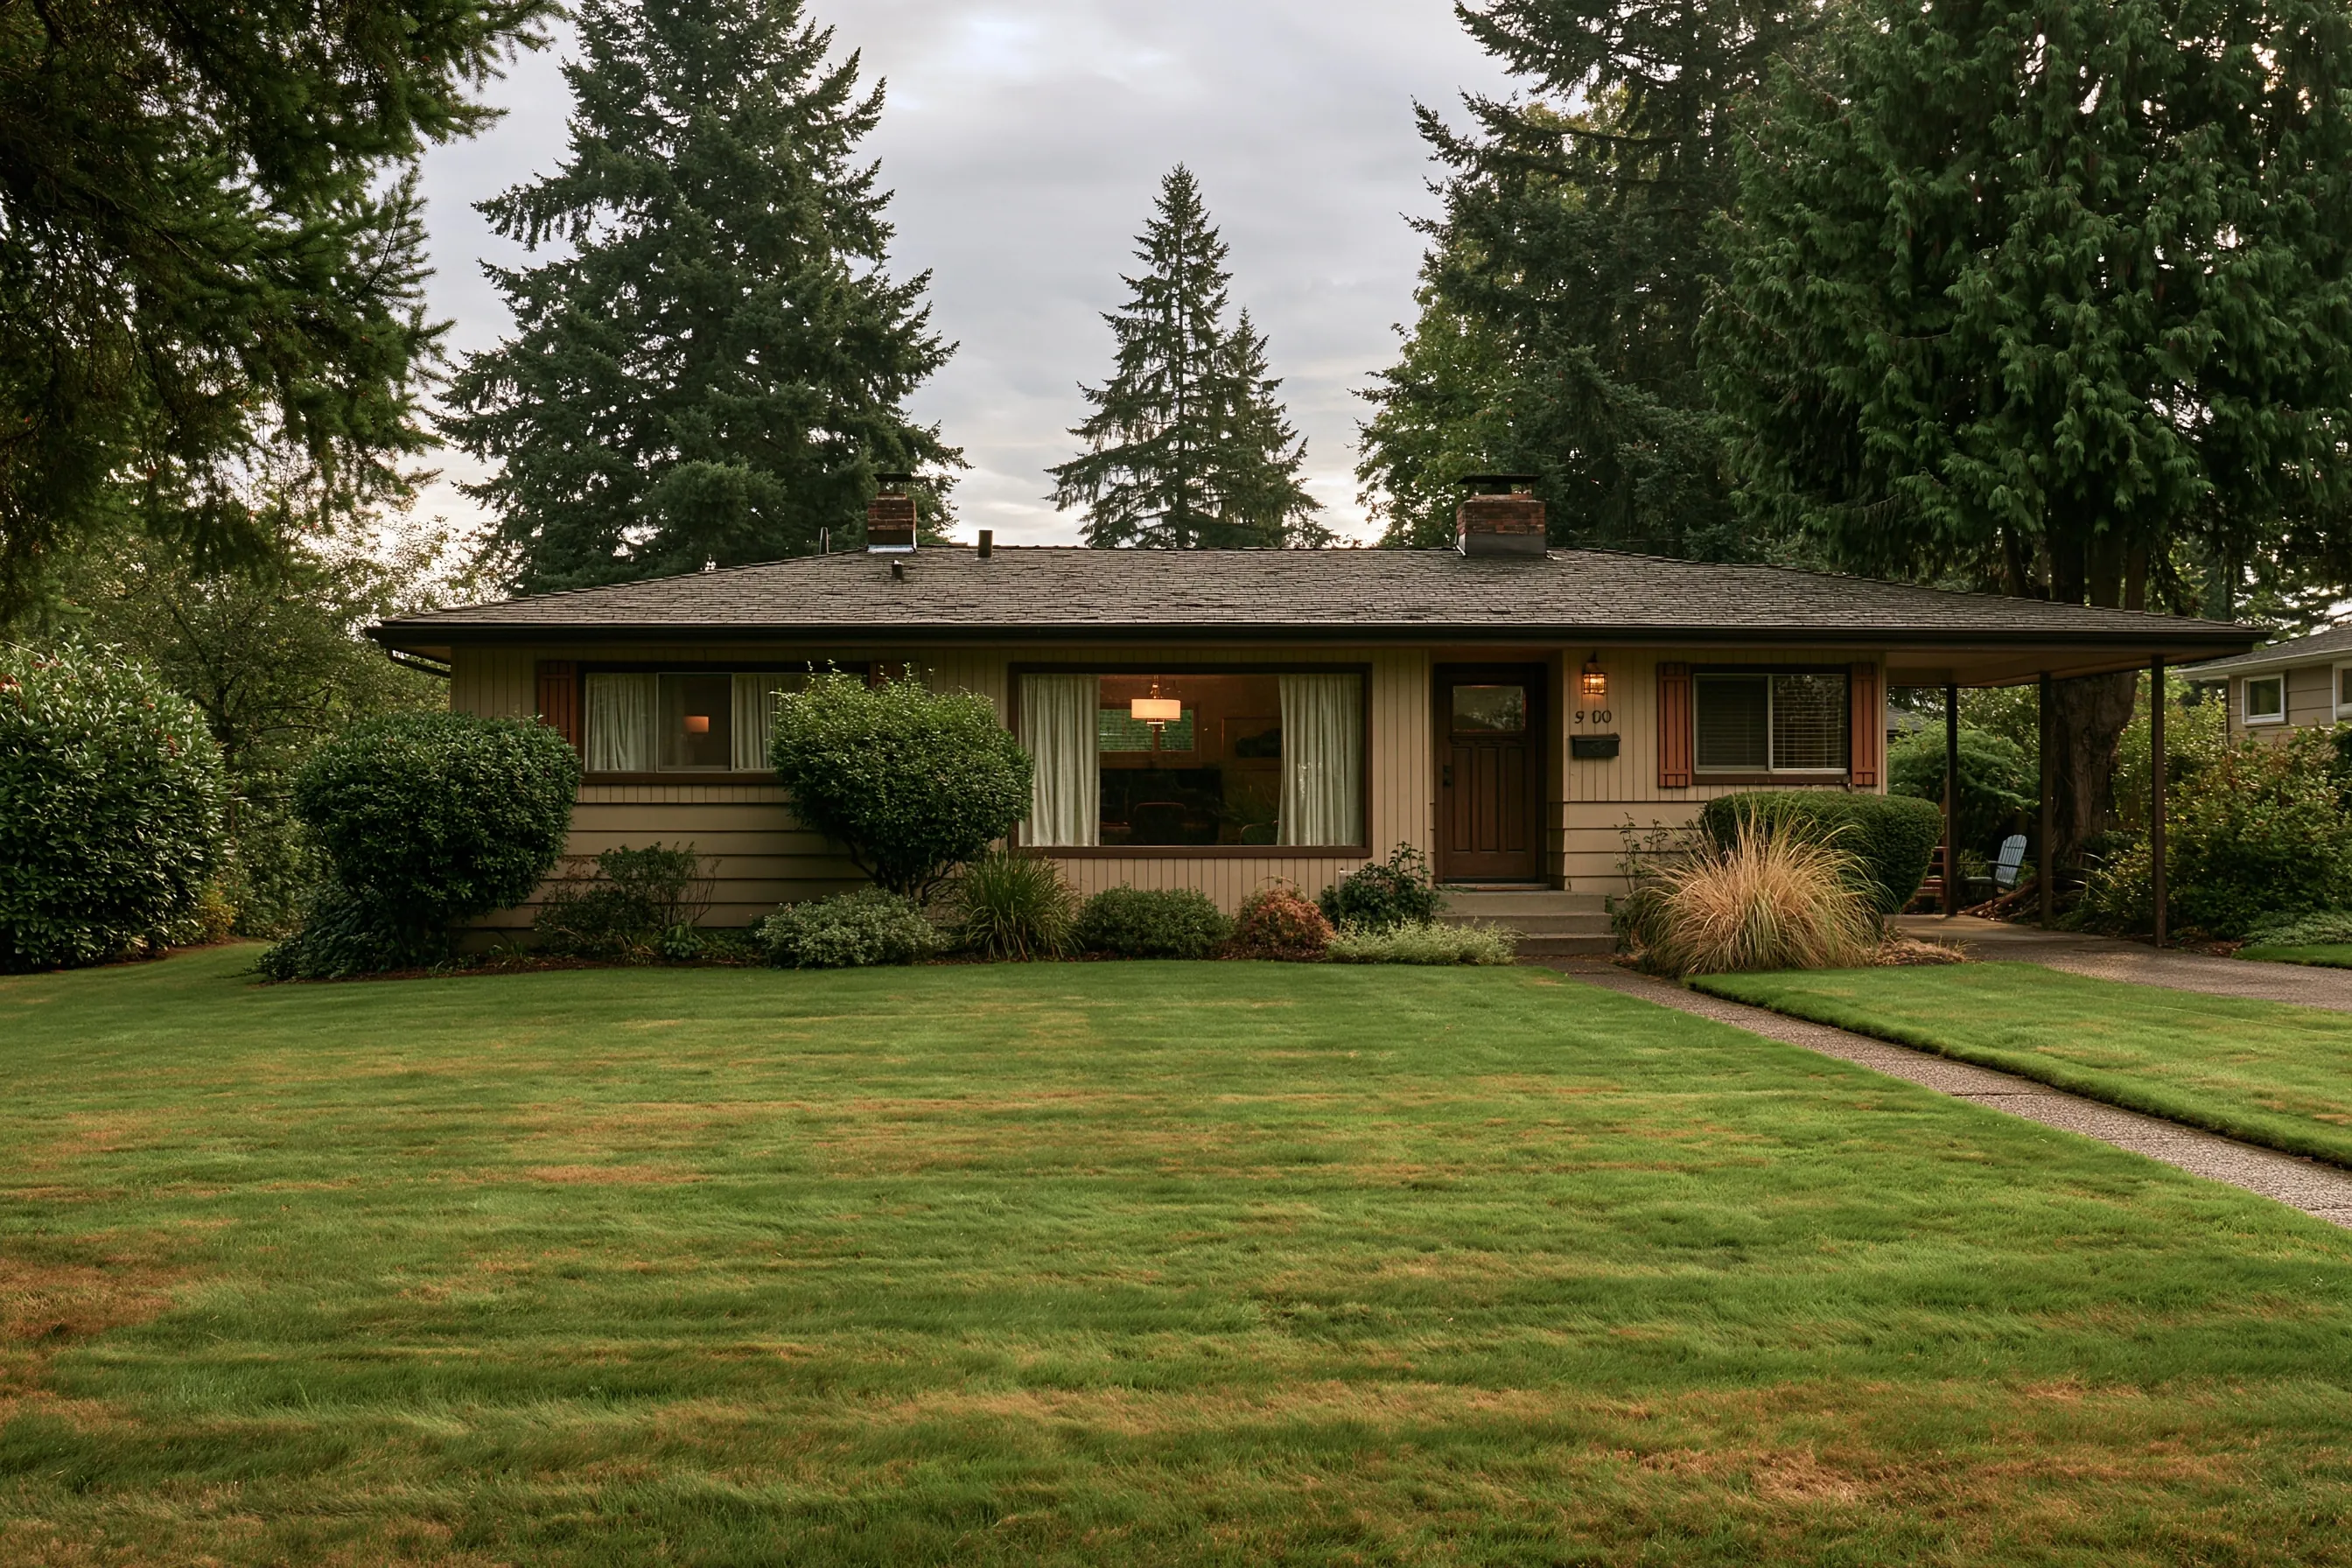
1950s single-story house with a low roof, a picture window, a carport and a wide front lawn
Home
1950s single-story house in Edmonds with a carport
Original request
Make sense of “possible knob and tube” in the buyers’ home inspection report
Found
No knob-and-tube; the attic wires are 1950s cloth-covered cable with no ground, and one splice has come loose
Work
Electrician’s evaluation, then a written scope and estimate for the buyers
Timeline
Visit within three days; written scope two days later, inside the inspection period
Estimated cost
$450

Scope of work

Each circuit traced from the panel, the attic and crawlspace runs checked along with a sample of outlet boxes, live circuits tested, the permit history for the address looked up, and a written scope and estimate listing which circuits to replace, which to protect with GFCI outlets and the one splice to fix. Any repair or rewiring is priced on its own lines.

Project overview

In this example, buyers are under contract on a 1950s Edmonds house, and their home inspector has written “possible knob and tube” after seeing old wires in the attic. They need to know what that means before their inspection period runs out.

An evaluation answers it. Here the electrician finds no knob-and-tube at all. The attic wires are cloth-covered cable from when the house was built, with no ground wire, and one splice in the attic has come loose. The written scope prices fixing the splice, new grounded circuits for the kitchen and bathroom, and labeled GFCI outlets elsewhere, so the buyers can negotiate from real numbers.

The goal

The goal is a clear answer before the inspection period ends, and a written scope that buyer and seller can both work from.

Process

  1. Day one Contract signed and the inspection report in hand; the evaluation booked.
  2. Day three Circuits traced from the panel, the attic and crawlspace checked, outlets sampled.
  3. Day five Written scope and estimate sent to the buyers.
  4. Before the period ends The buyers ask for a repair, a credit or a price change, using the scope.

Planning right

  • A home inspector’s note is a reason to look closer, not a verdict. Most 1950s houses have braided cable, not knob-and-tube.
  • Ask the seller whether any rewiring was permitted. Permits bought since 2020 can be looked up online by address.
  • Book the evaluation in the first days of the inspection period. A written scope takes a few days.
  • Your agent advises on the contract. The scope covers the wiring.

Get a free quoteMore about knob and tube found in a home inspection

Replacing the last knob-and-tube after buying a 1920s house

Example project

Hallway in an older house with worn plaster walls, small openings at the outlets and ceiling, and a drop cloth on the floor
Home
1920s house in Lake Forest Park, about 1,700 sq ft, with plaster walls and radiators
Original request
Replace the knob-and-tube found during the purchase, before moving in
Found
Live knob-and-tube in the hall, two bedrooms and the living room, spliced into later cable in the attic
Work
The remaining knob-and-tube replaced with grounded cable, with openings at the ceiling line and outlets
Timeline
Eight working days in the empty house, then the inspection and patching
Estimated cost
$22,000

Scope of work

All remaining knob-and-tube circuits traced and replaced with grounded cable, new boxes and devices, the splices to later cable in the attic taken out, small openings at the ceiling line and at outlets for fishing, the dead runs that can be reached pulled out, and the permit and inspection. Plaster patching is a separate line.

Project overview

In this example, the buyers of a 1920s house in Lake Forest Park learned from an evaluation during the purchase that knob-and-tube was still live in the hall, two bedrooms and the living room, spliced into later cable in the attic. They negotiated a credit and want the work done before they move in.

An empty house makes the job faster. No furniture is in the way, whole rooms can be without power all day, and the crew can open the planned spots at the ceiling line and the outlets without working around a family. The openings stay visible for the inspector before a plasterer closes them.

The goal

The goal is a house with no live knob-and-tube left and grounded circuits in every room, finished before the family moves in.

Process

  1. Before closing The evaluation scope turned into a firm quote, with the start date set for the day after closing.
  2. Days one to six Old circuits traced and replaced room by room, with openings only where marked.
  3. Day seven The attic splices taken out and the old runs there pulled.
  4. Day eight Devices fitted and the circuit list written; inspection booked.
  5. Then Inspection, then the plasterer closes the openings before move-in.

Planning right

  • An evaluation that lists the live circuits makes a quote like this quick to firm up.
  • Splices between knob-and-tube and later cable are often in the attic. Each one is found and taken out.
  • Leave a week between the inspection and move-in so the plaster patches can dry and be painted.
  • Cable routes are planned around the attic and the floor framing, so the plaster is opened only where marked.

Get a free quoteMore about knob and tube found in a home inspection

Request a free knob and tube quote

Tell us the decade the house was built, what you have seen in the attic, at the panel or at the outlets, and whether a sale is under way. Add the street address for the permit office. We'll get back to you soon with an estimate or any questions we have. Estimates are free and there's no obligation.

Call (425) 725-5719

Call (425) 725-5719